Overview of Board Services for Property Owners
Visitors will learn about the types of services offered by local contractors and how to compare and connect with trusted local service providers.
- - Homeowners - individuals seeking local contractors for residential projects and repairs.
- - Property managers - professionals coordinating services for multiple properties or building complexes.
- - Commercial property owners - businesses looking to connect with local service providers for building upgrades or maintenance.


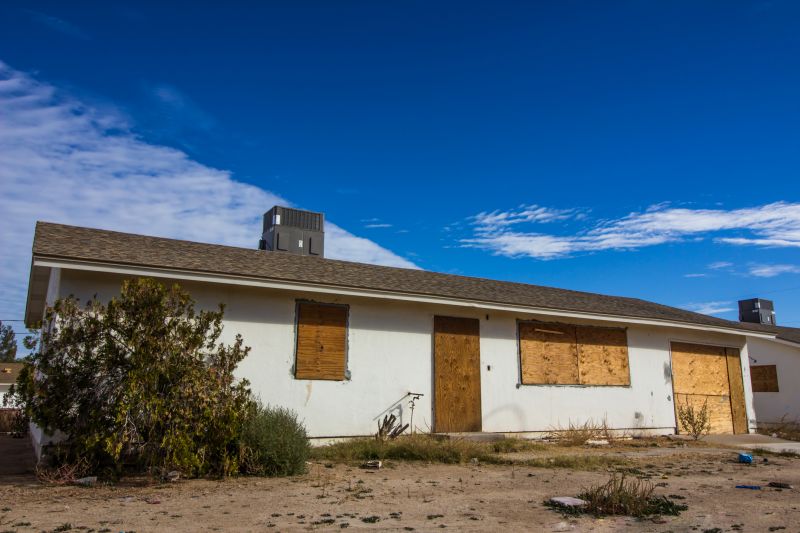
Board services involve a range of work related to the installation, repair, and maintenance of various types of boards, such as drywall, plywood, or other paneling materials. Property owners often seek assistance from local contractors or service providers when undertaking projects like installing new wall surfaces, repairing damaged panels, or upgrading existing structures. These local professionals have experience handling different types of board work, ensuring that the job is completed properly and efficiently according to the specific needs of each property.
Connecting with local service providers for board work allows property owners to find experienced pros who understand the unique requirements of their projects. Whether it’s a small repair or a larger installation, local contractors can provide the necessary expertise to handle the work. Property owners can expect to work with local pros who are familiar with the local building standards and have access to the right tools and materials to get the job done right.
This guide provides clear information to help compare and connect with local service providers who specialize in Board services. It assists in understanding the basics of the work and what to consider when planning a project. By using this resource, visitors can make informed decisions about choosing the right local contractors for their needs.